How to Use a Reed Diffuser
If you’re looking for a refresher on how to refill your diffuser, check out this helpful post.
Reed diffusers are a simple way to keep your space smelling amazing—no flames or plugs required. If you’ve just purchased one of our reed diffusers and aren’t quite sure how to use it for the first time, or if you’re looking for tips to maximize its performance, we’ve got you covered.
Here’s everything you need to know:
Setting Up Your Reed Diffuser for the First Time
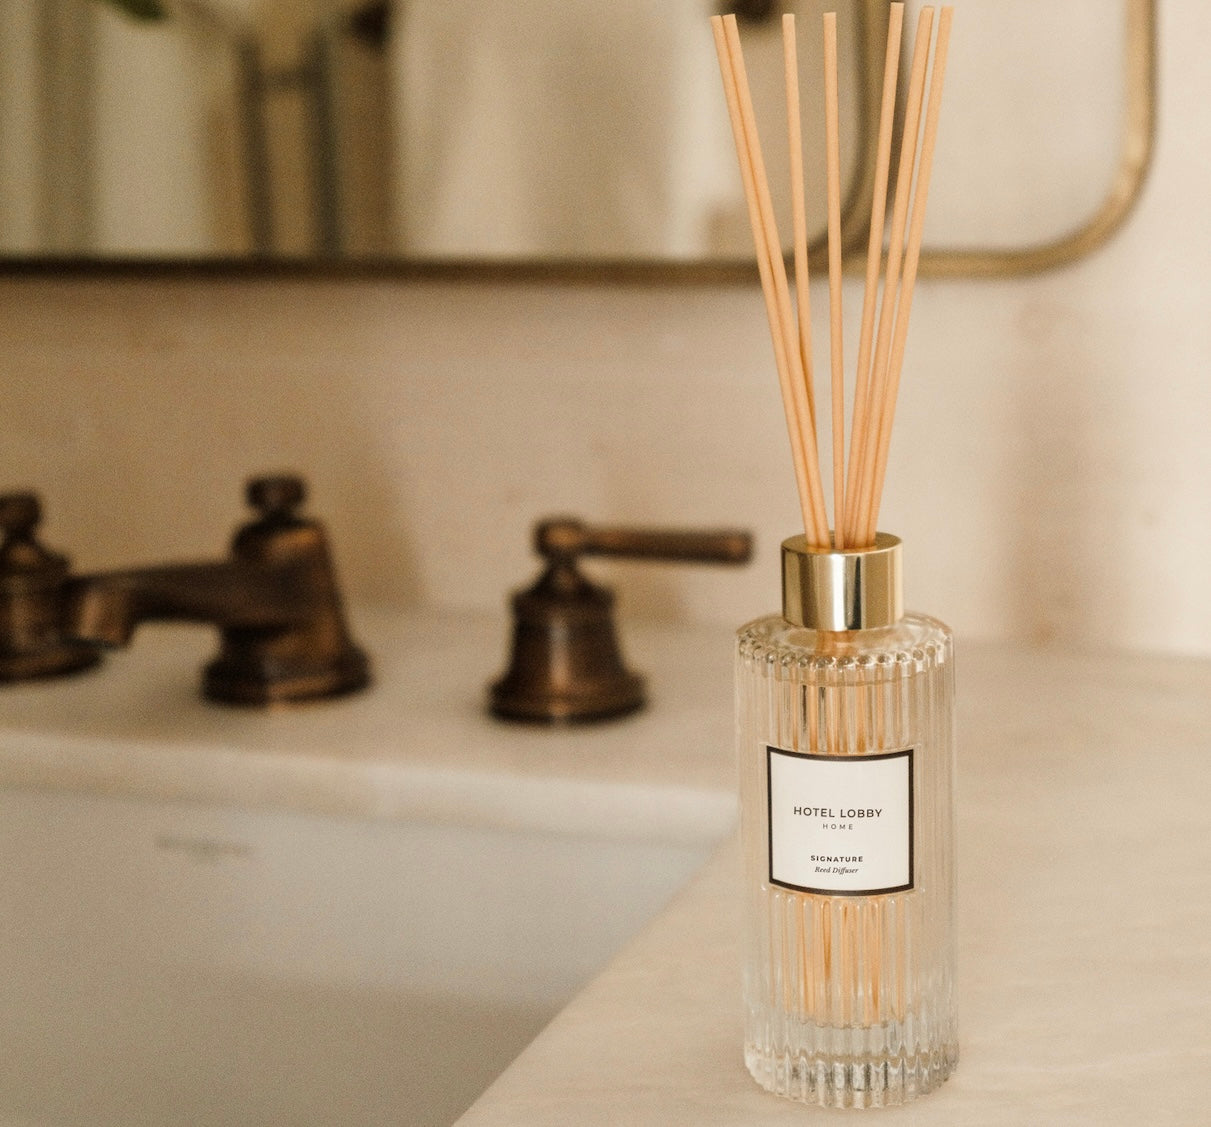
Choose the Perfect Spot

Place your diffuser on a flat, oil-safe surface to avoid spills or stains. Position it in the center of the room if you’d prefer the diffuser to serve as a focal point, or nestle it into a corner, on your bathroom counter, in your entryway, or on a bookshelf if you’d prefer.
We would be remiss if we didn’t remind you that due to the delicate nature of your new diffuser, we strongly recommend keeping it out of reach from children, pets, or—most importantly—clumsy adults.
Prepare the Diffuser & Add the Reeds

Unscrew the gold collar and carefully remove the small transparent plastic stopper inside the diffuser. Screw the cap back on securely to prevent any spills.
Remove the reeds from their packaging, untie the ribbon, and insert them through the opening of the cap. Fan them out slightly for better air circulation and fragrance diffusion.
Choose Your Strength

Did you know that you can control the strength of your diffuser based on the number of reeds? We typically recommend inserting all 9, and then removing reeds if you’d prefer a more subtle scent.
(Our founder’s mom keeps the Miami diffuser in her powder room, and finds that just 3 reeds are more than enough to fill the space! She stores her backup reeds in an airtight bag and refreshes them as needed.)
Wait for the Magic

Allow 48 to 72 hours for the reeds to soak up the oil and begin releasing the fragrance into your space.
Reed Diffuser Care Tips
To ensure your reed diffuser lasts as long as possible and performs its best, follow these simple care tips:
Flip the Reeds Periodically
Every few days, flip the reeds to refresh the fragrance and keep the scent strong. Be sure to do this over a sink or trash can to avoid oil drips.
Replace or Refill When Needed
Once there’s about half an inch of liquid remaining, it’s time to replace or refill your diffuser. Running it dry can diminish the reeds’ ability to diffuse properly.
You can choose from our selection of diffuser refills, or sign up for our refill program to save 15% and receive free shipping. (We designed the program to be as low-commitment as possible, so you’re able to cancel whenever you’d like with one click, or swap your scent at any time.)
Fan Out the Reeds
Spread the reeds apart slightly to allow for better air circulation and fragrance diffusion. A clustered arrangement can limit the scent’s reach.
Have questions about your reed diffuser that we didn’t answer here? Drop us a line — our Concierge would be glad to assist.